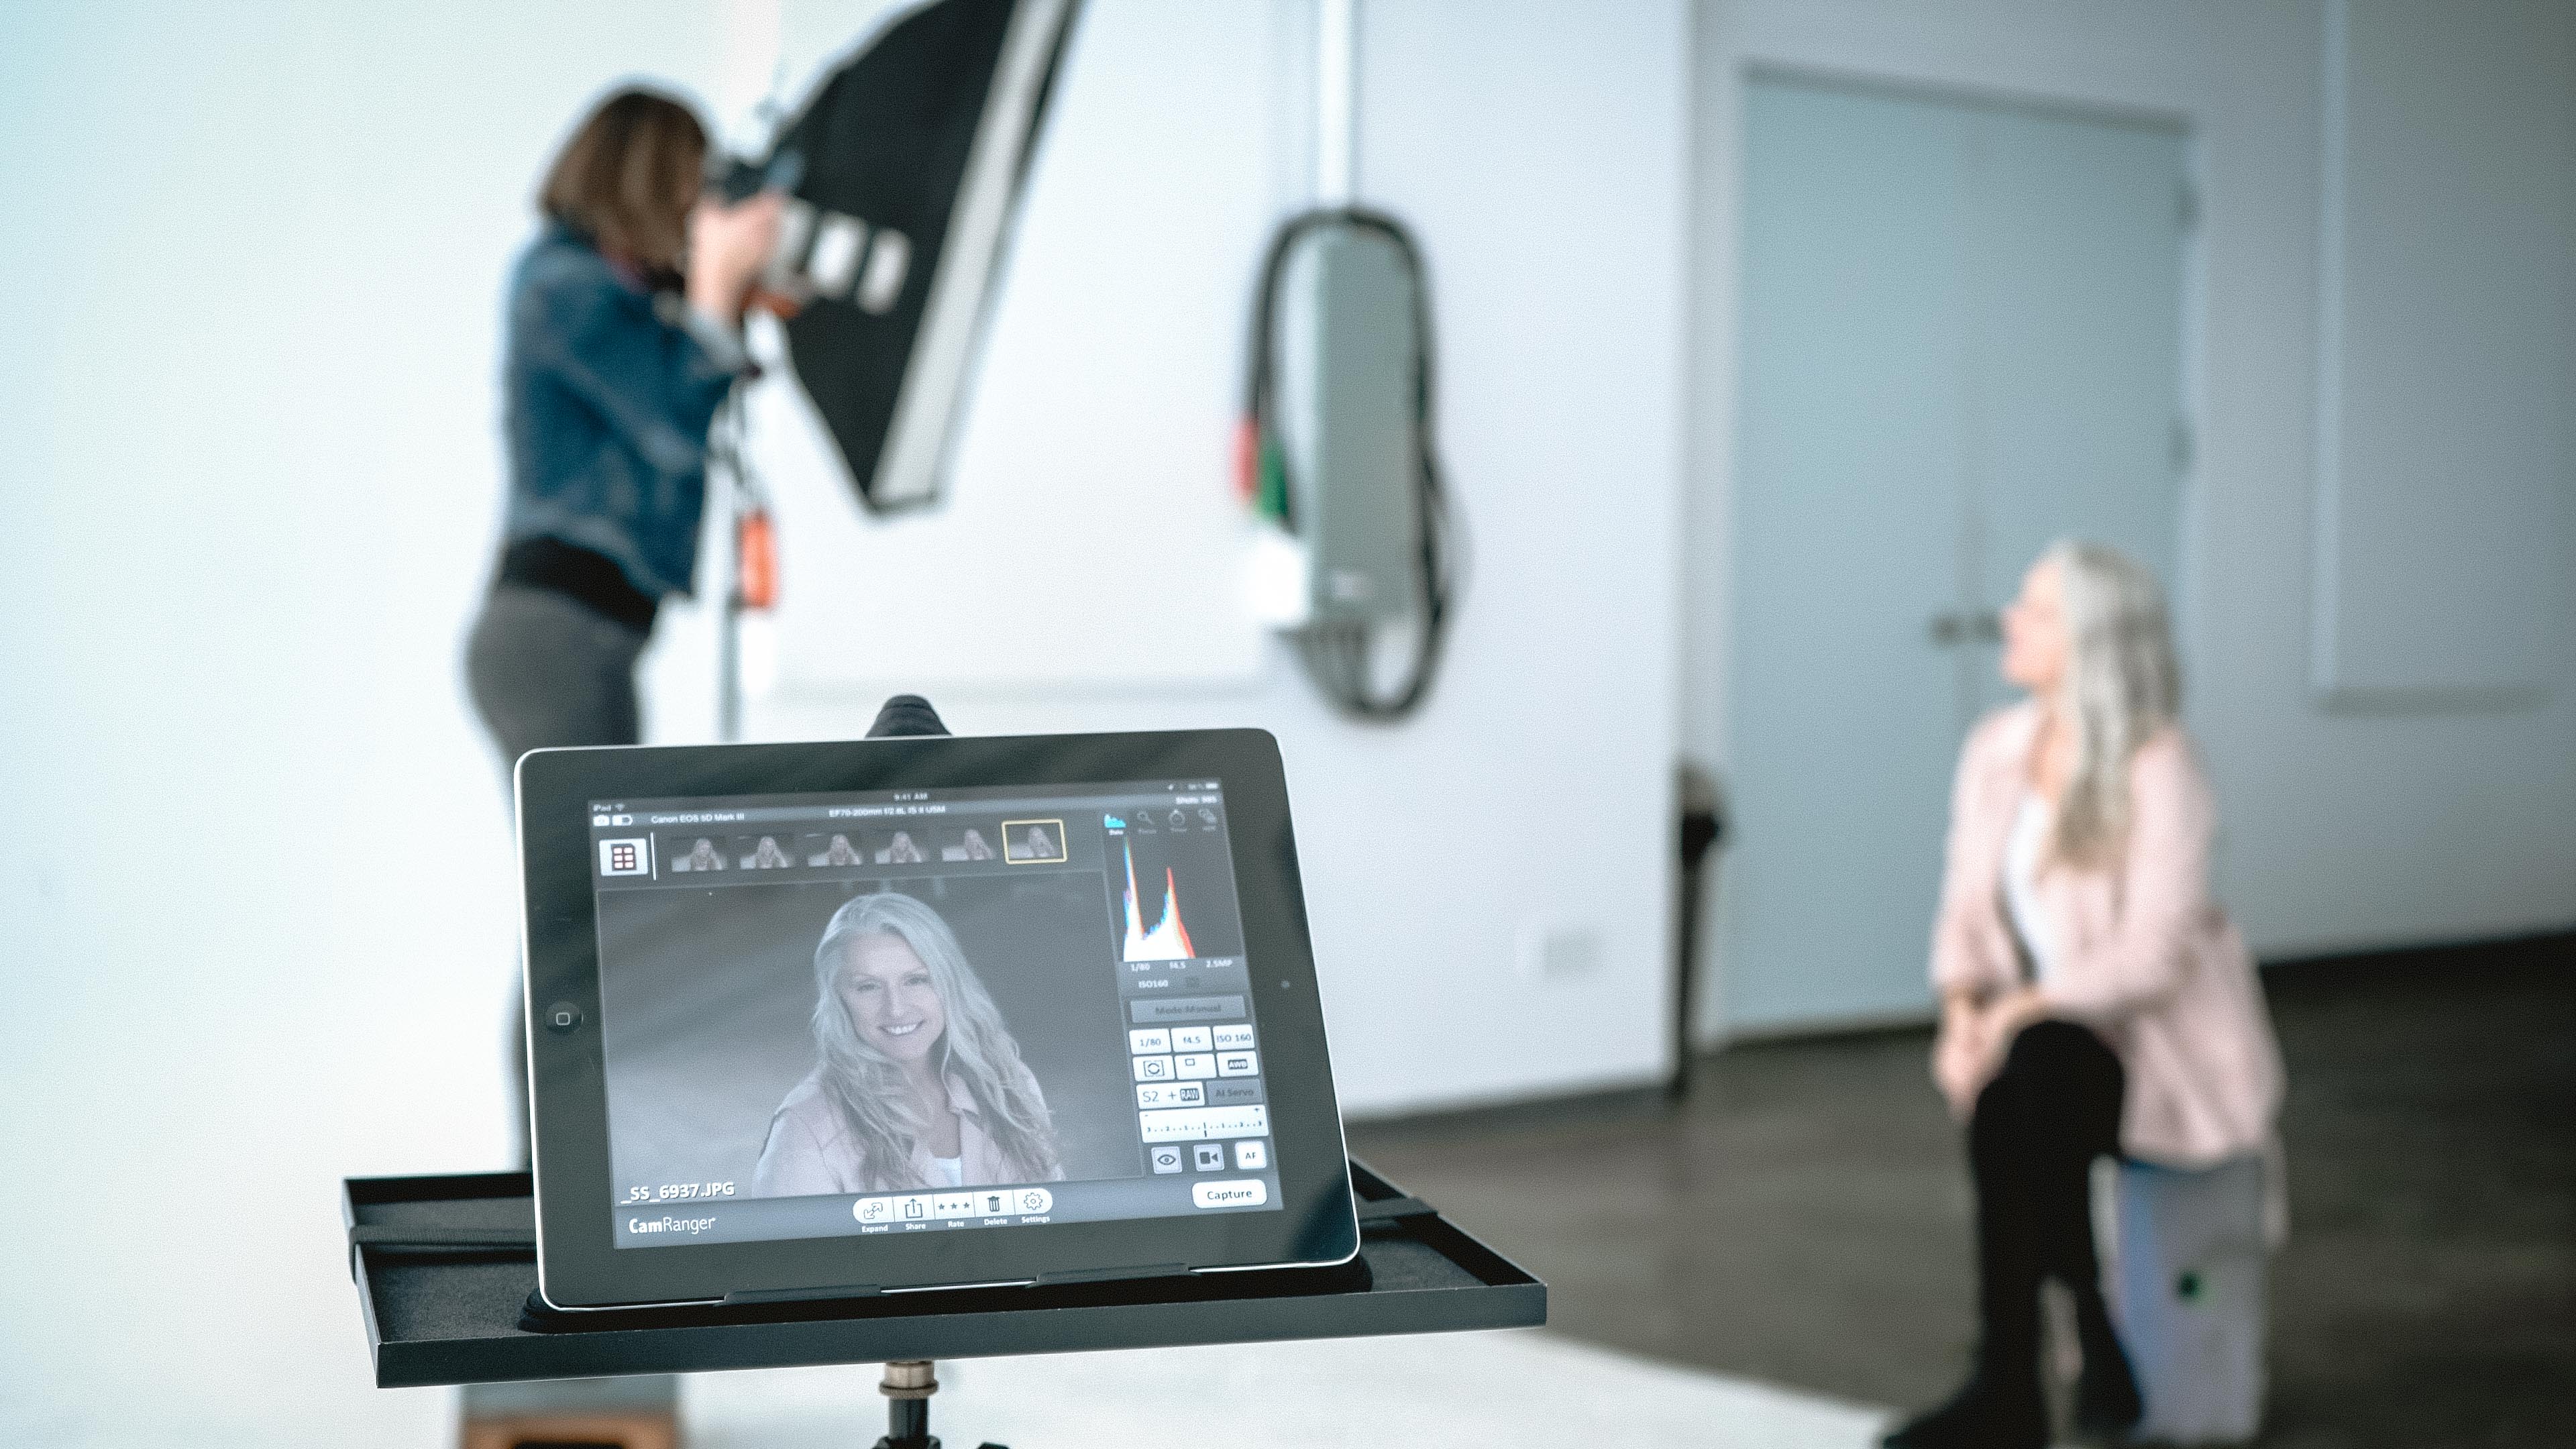
After the photo shoot, what happens next? Start with a pat on the back! You’ve just accomplished something for your business. You might be asking, what happens next? After you walk out that door, what exactly happens to take the raw pictures into a polished work? From the photoshoot to delivery, this the time for us to get working.
The first step we do is make sure your files are safe. After downloading the raw photos on our hard drive, we do back them up right away before we even do anything with it.
Now the fun part, we process the photos for basic colour and exposure correction. We take out any photos that are not usable or not on brand. For some people, this is a painstaking process. So we take that out of your hands by narrowing down the selections. This way, you don’t have to look at so many of them. This whole process is what we call proofing.
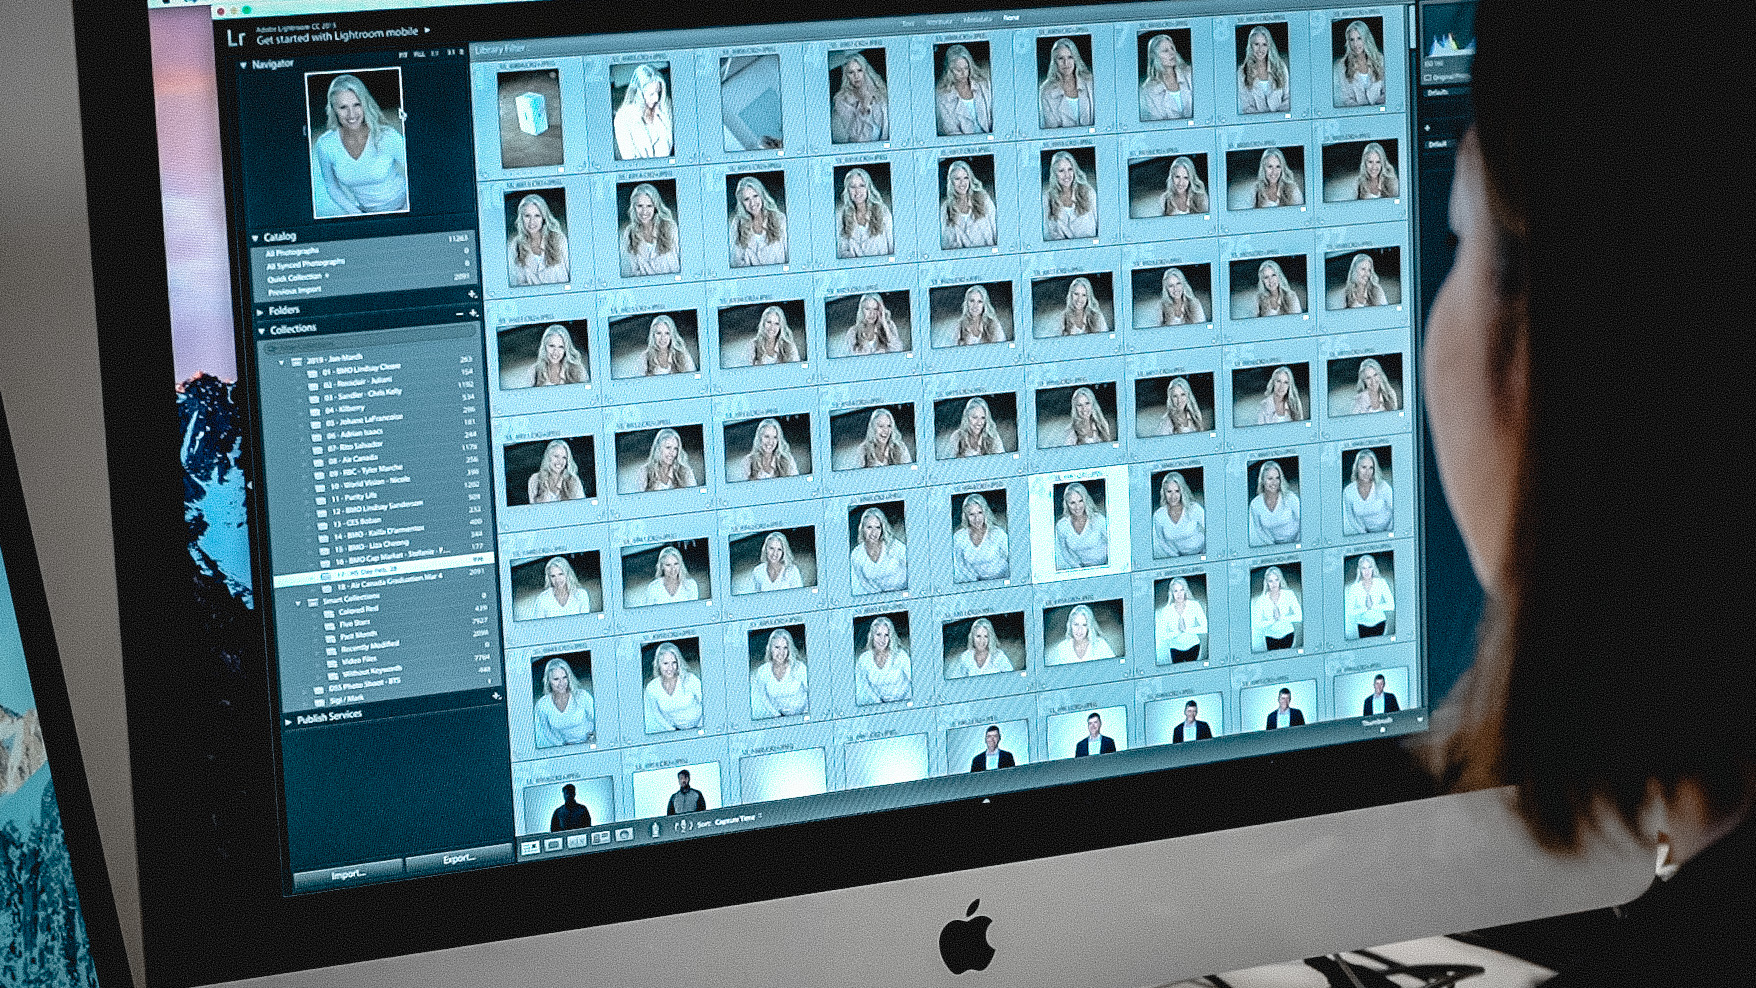

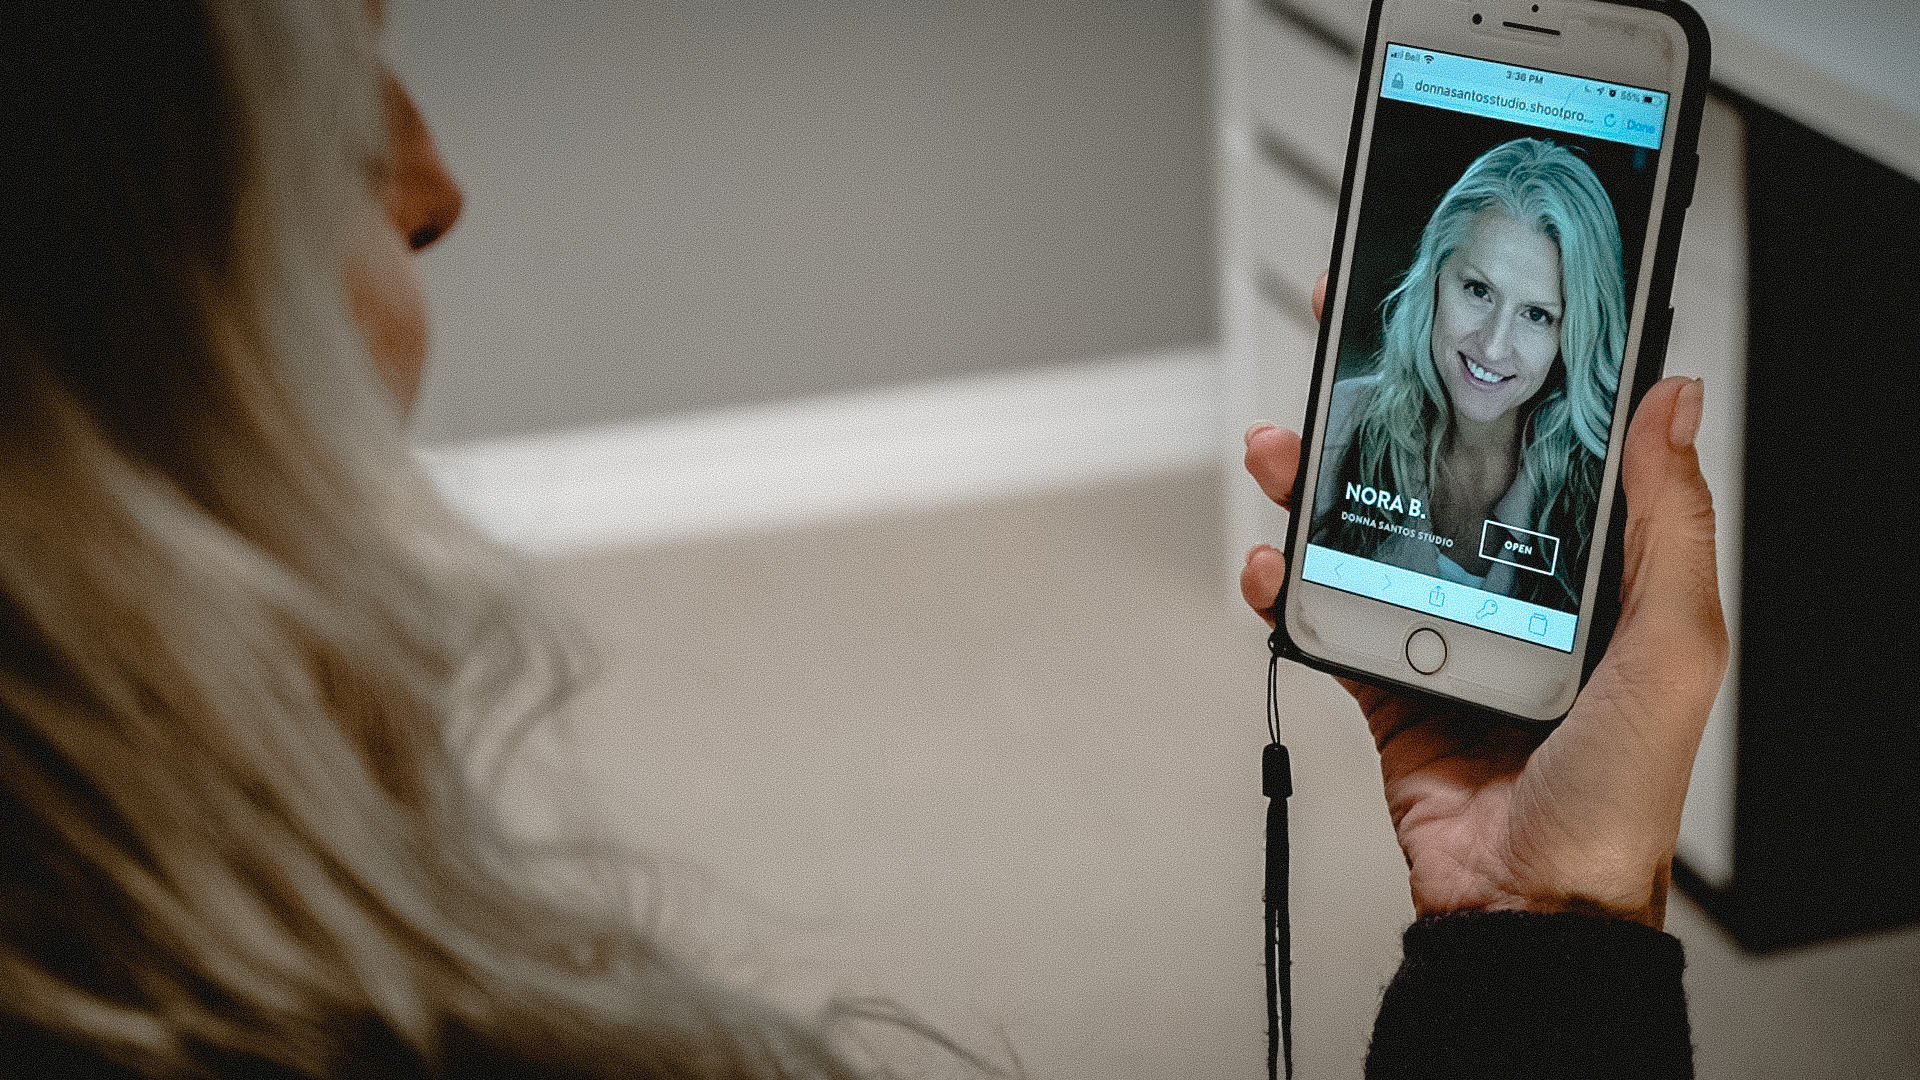
Putting these photos in a private gallery format is the studio’s next step. You can view all the proofs either on your desktop or mobile phone. This gallery is live for one month, giving you enough time to make your final selections.
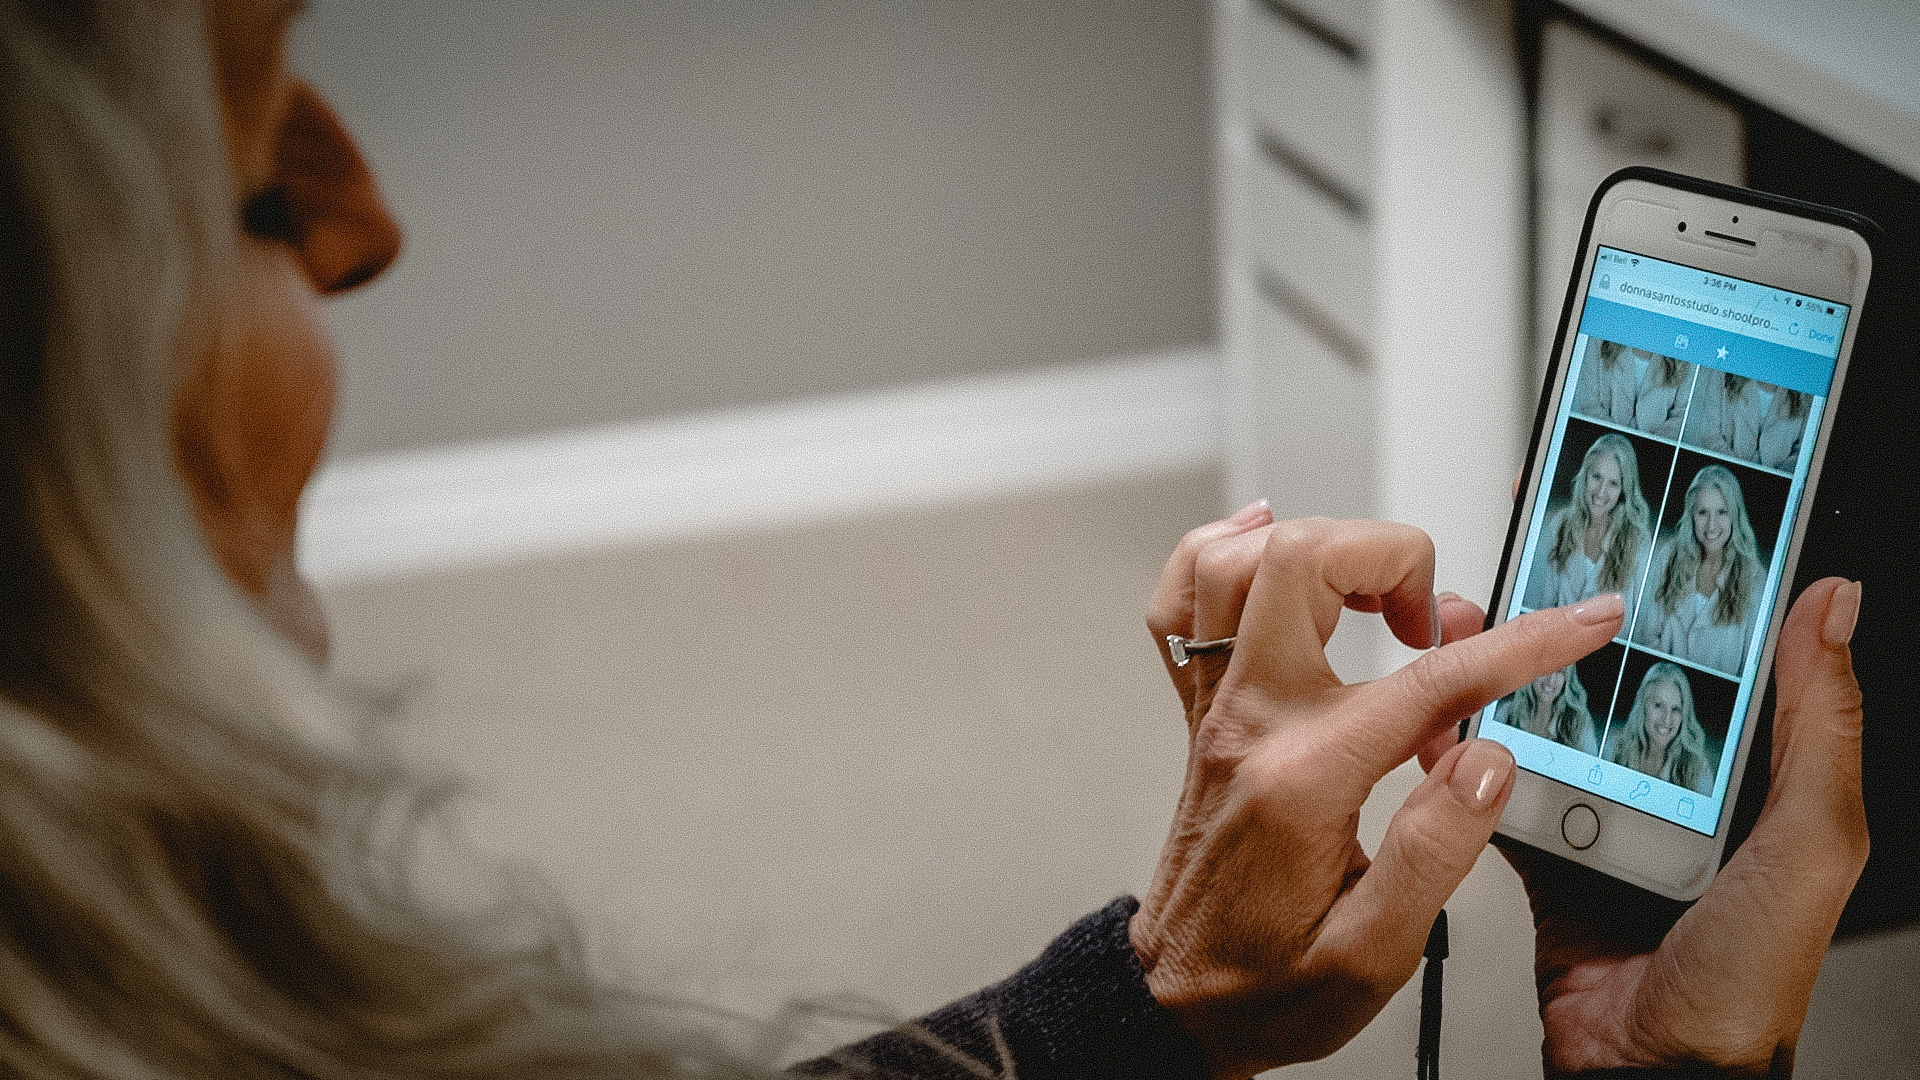
After a couple of days from your shoot date, you will get an email to us with a link to this gallery. Along with that email is our favourite or recommendations for you to consider.
Before our shoot, we have gone through consultation and based on that conversation. We now recommend photos from the proofs with the best suit. Some people need more guidance than others, but as an added value we give you our favourites. This is in the hopes that it will make the selection process a little easier for you.
After you give us your selections, we then now process the photos for touch up. Reasonable Photoshop touch-ups are:
We don’t go overboard with retouching as we don’t want you to look too different. Your photo should be an improvement in how you look like in person.
After 2-3 days, you will get the link to your touched-up photos in high resolution and web resolution jpg format. This link should be able to allow you to click a button to download your pictures right away. Just look for the download button. Don’t forget to backup your photo on another drive for safekeeping.
Touch-ups that need composite (i.e. putting together people in one shot. These are images shot at a different time) will generally take a little longer.
Once you’ve done the download part, you’re almost there! We’ve done our part, but you now have to publish your photo.
It may seem that a lot goes on right after the photoshoot. But with our experience, this post-production process runs efficiently. Therefore saving you tons of time!
Using your new or updates business photos, create business momentum! This blog shows you how. Scroll towards the bottom. https://www.donnasantos.com/business-headshots-winning-guide/


Posted By
Donna Santos
Categories
Events, Portrait Photography
Tags
commercial photography, corporate headshots, Linkedin profile, marketing